CRF250L & Rally (2012 - 2018)

Product Compatibility
- vSystem + Adapter SA-0095
- xSystem
- eSystem
- Traveller Expansion Bag
- Scorpion Dual Injector
- Magnum HCR
vSystem Installation
This installation requires a Universal Spigot (SA-0095BL) available from Scottoiler.
Scottoiler recommend this kit is installed by a trained technician.
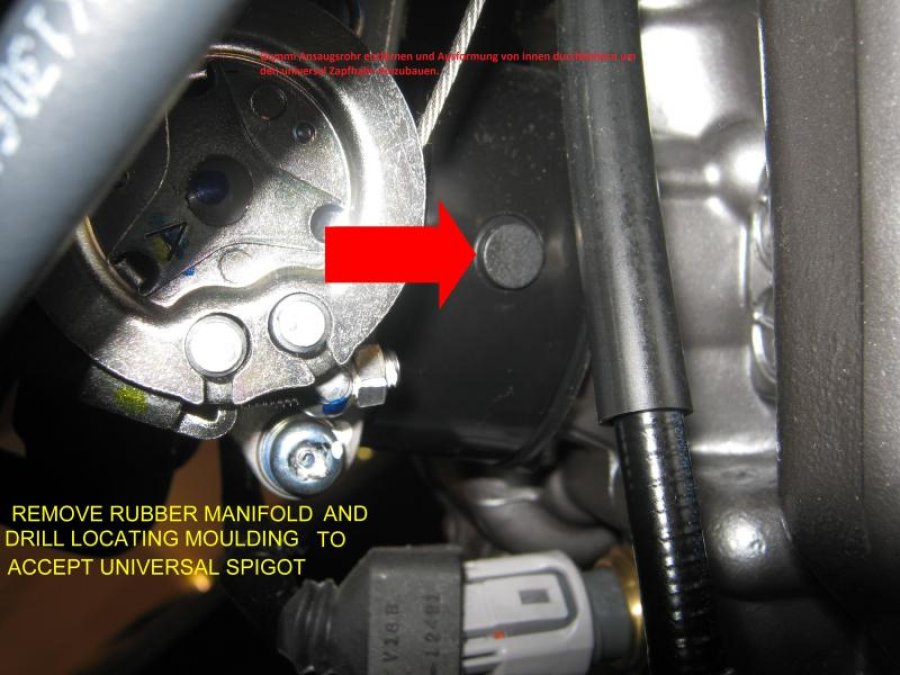
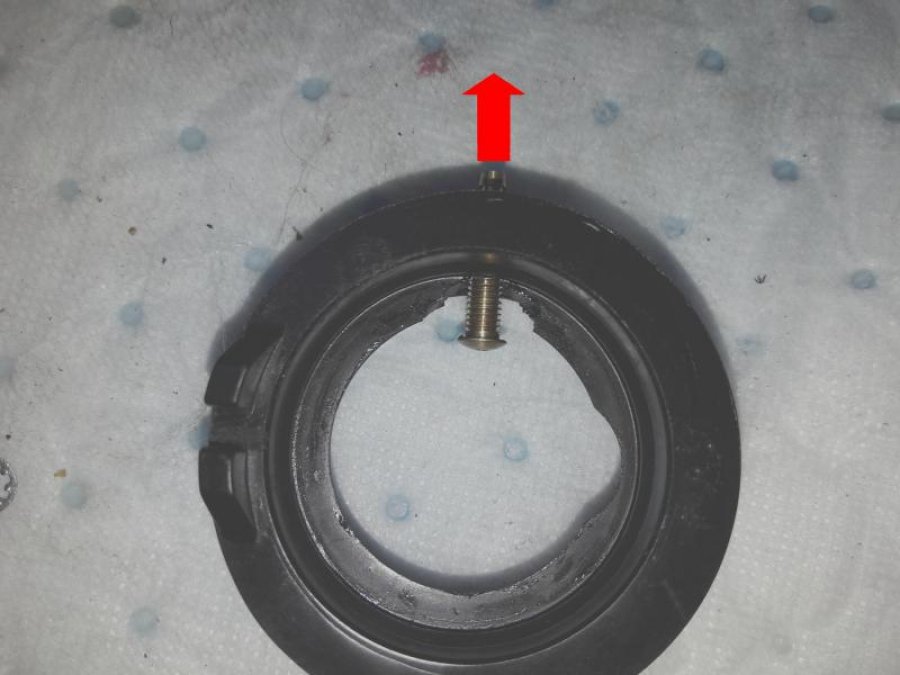
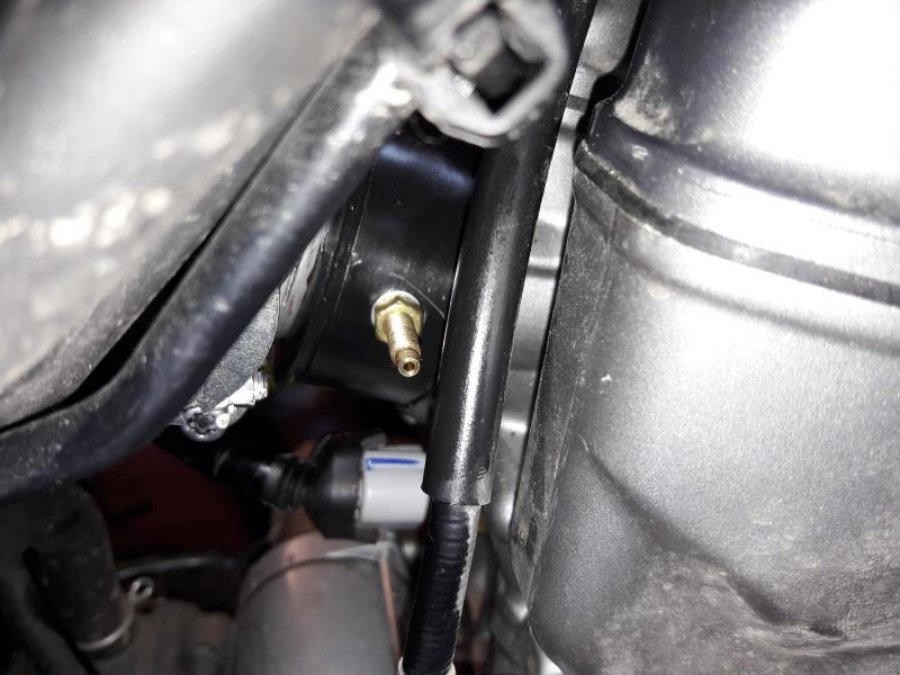
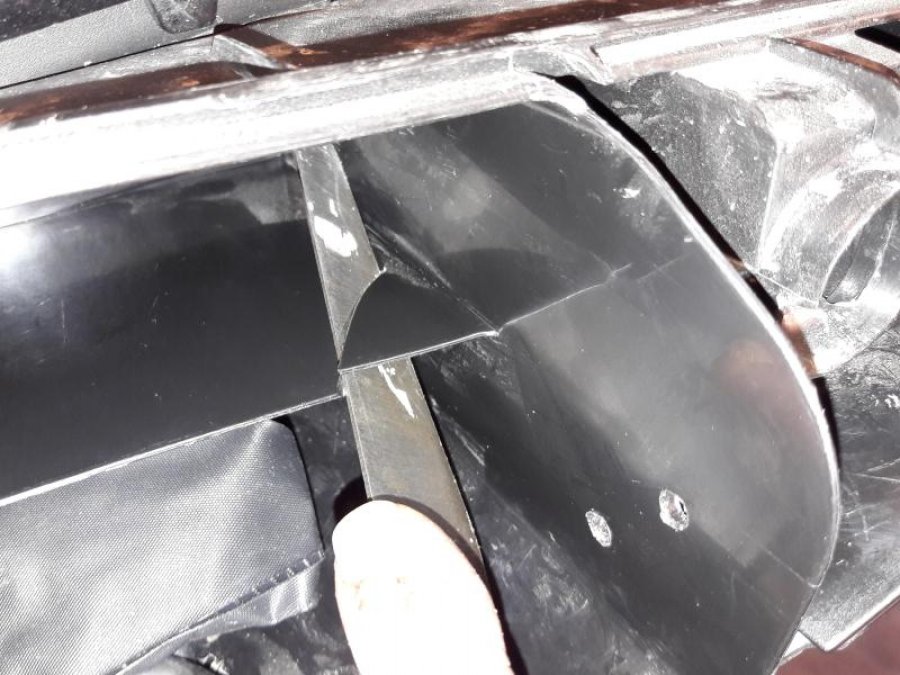
Step 1 - Find a vacuum source
Locate the vacuum – Remove the rubber inlet manifold, and drill a 3mm hole in one side. Then fit the Universal Spigot, available from Scottoiler, using washers and an RTV, silicon type sealant, to ensure an airtight seal. Re-install the manifold and then press the Damper Elbow onto the spigot. Caution: Remove any drilling swarf / loose material from the manifold before re-installation. For further information see our easy step installation guide - Vacuum Connections General.


 .
.
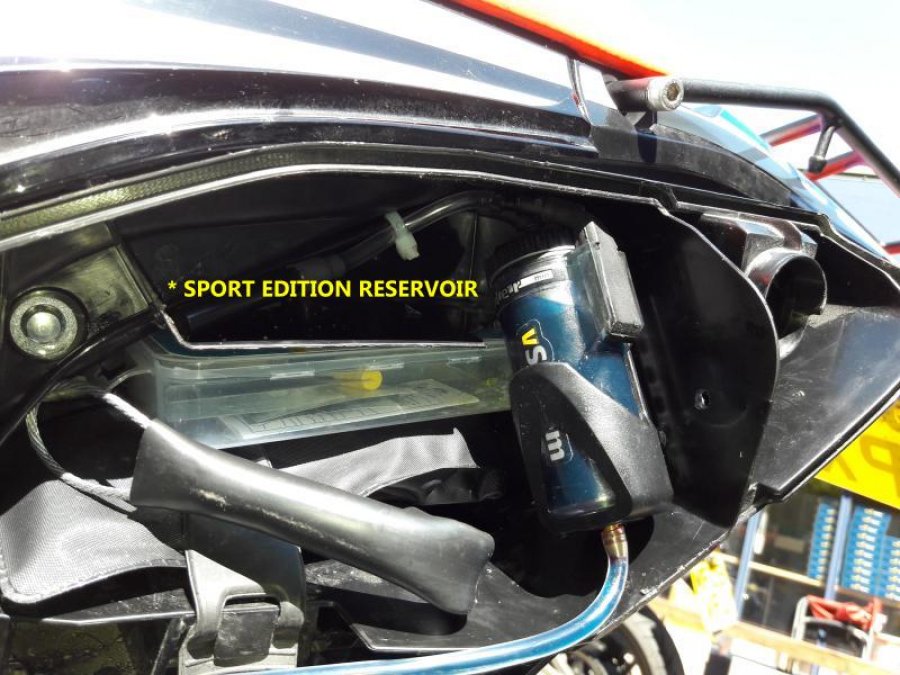
Step 2 - Find a place for the reservoir
The reservoir can be mounted on the frame or under the seat. The more vertical the reservoir is mounted the better. Avoid positioning the reservoir completely horizontally, as this will limit the available range. Remember to avoid exhaust and engine components. For further information, see our easy step installation guide – Reservoir Positions.
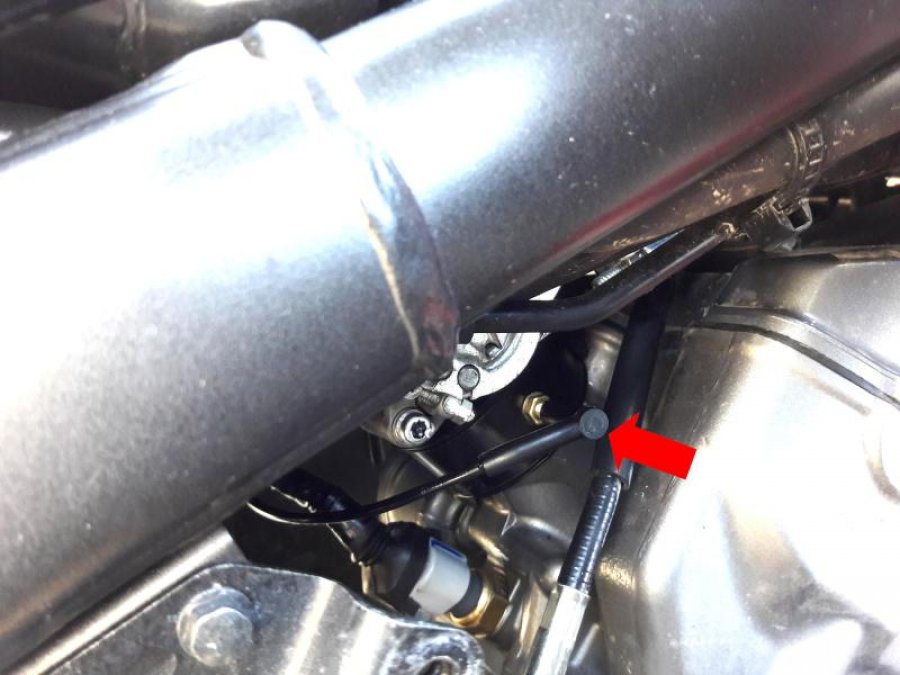
Step 3 - Mount the dispenser and connect the system
The Dispenser assembly can be secured on the chain guard bolt using the small dispenser plate and clip. The delivery tubing can be routed along the swing arm using self - adhesive cable clips. See our easy step installation guide - Dispenser Positioning. The nib should lightly touch the face of the rear sprocket, with the slash cut facing outwards.


Step 4 - Fill, prime and set up your vSystem
Once fitted, fill and prime the system and set the adjuster knob to ’prime’. Start the engine and turn the adjuster knob until a flow of between 1 and 2 drops per minute is achieved. Check the condition of your chain after a ride, and then adjust as required.
For best results clean your chain before fitting the Scottoiler using paraffin or similar. Then lightly oil the chain from the bottle using a rag or a brush, this allows the oil from the Scottoiler to reach both sides of the chain. 1 to 2 drops per minute will maintain this film of oil on the chain.
xSystem Installation
The xSystem chain oiler is really easy to install and can be mounted on your bike in less than 1 hour. The installation consists of the three simple steps:
- Find a place for the reservoir
- Connect the xSystem wiring harness directly to your battery
- Route the dispenser to your rear sprocket
For an example of the installation see our xSystem Installation guide.
If you have our system installed on this specific motorcycle model, we would appreciate if you could send us pictures. With more pictures we can make the Installation even easier for all motorcyclists. Please send us your feedback and photos to technical@scottoiler.com.
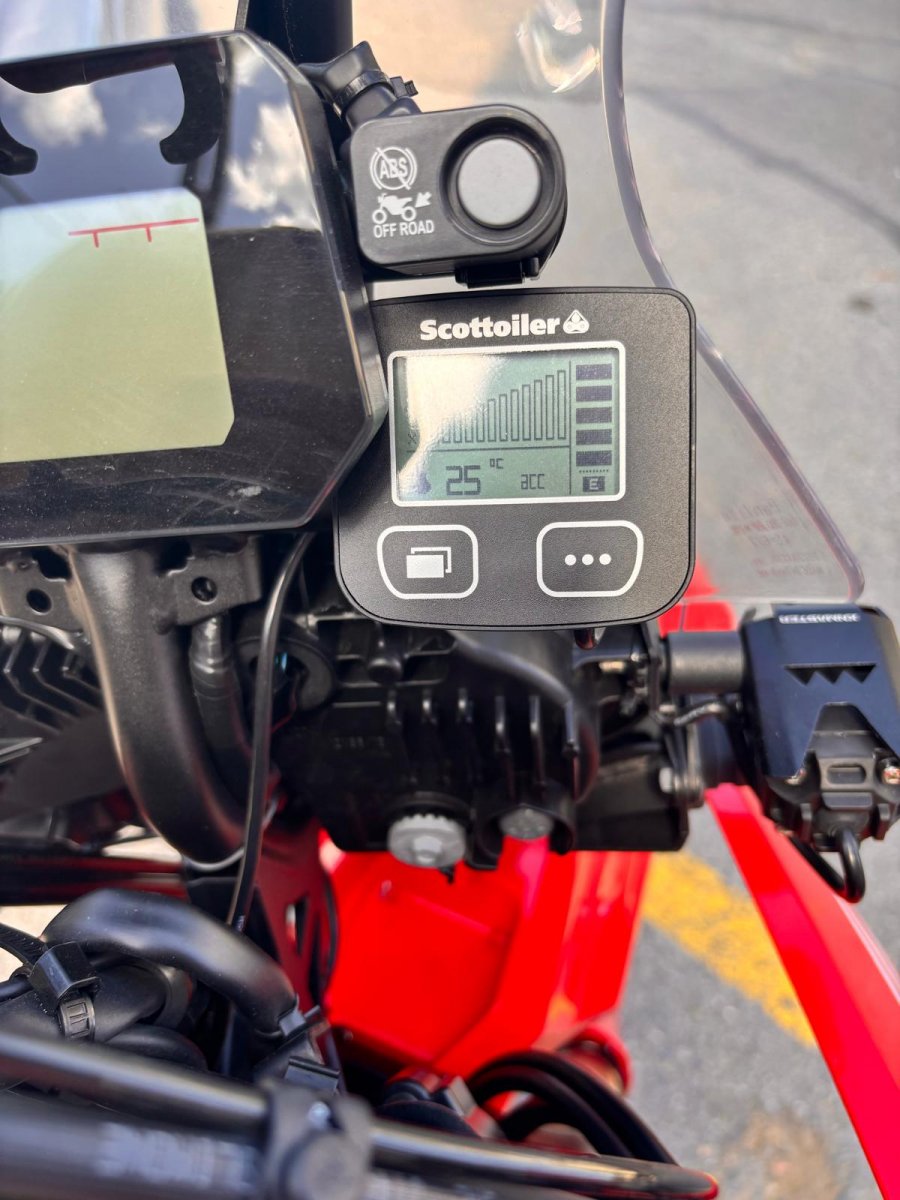
eSystem Installation
The eSystem chain oiler is really easy to install and can be mounted on your bike in less than 1 hour. The installation consists of the three simple steps:
- Mount the display on your handlebars
- Connect the display and reservoir to your battery
- Attach the dispenser and route the delivery tubing to the reservoir
For an example of the installation see our eSystem Installation guide.
If you have our system installed on this specific motorcycle model, we would appreciate if you could send us pictures. With more pictures we can make the Installation even easier for all motorcyclists. Please send us your feedback and photos to technical@scottoiler.com.